Generate images and edit photos
Describe a scene to create a new picture, or upload a reference and ask for changes. Develop the subject, setting, and visual style together.
From your first idea to your next design—create and edit with AI.
0 / 5000
Pick an image and try its prompt with your own subject or idea.
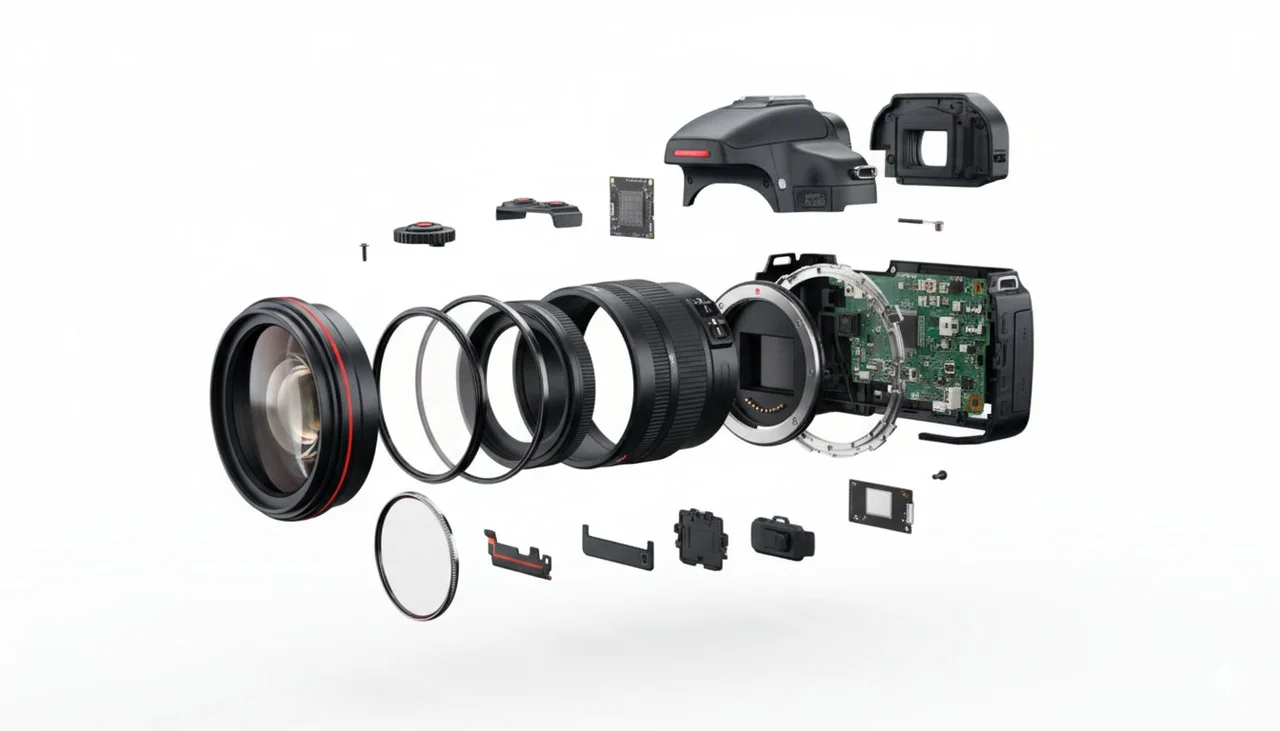
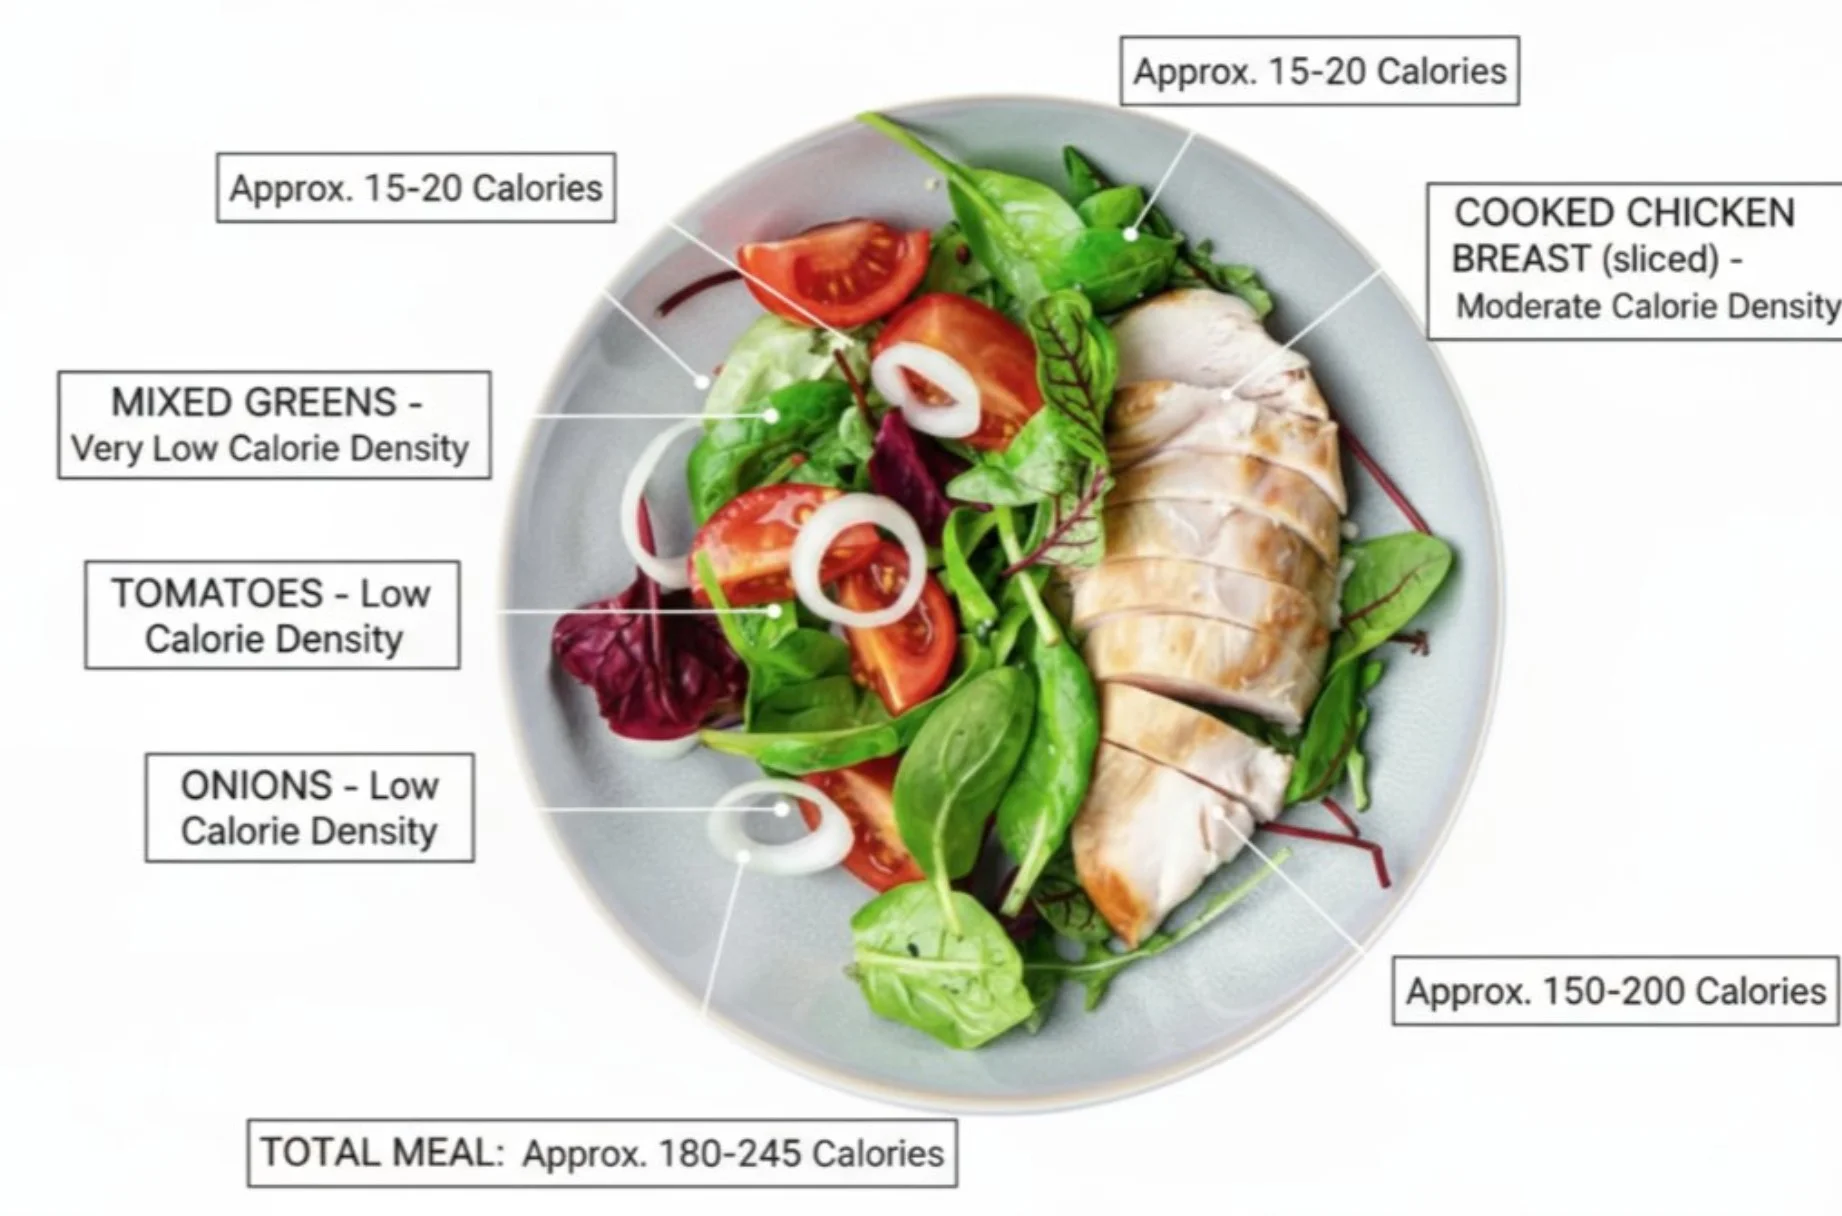
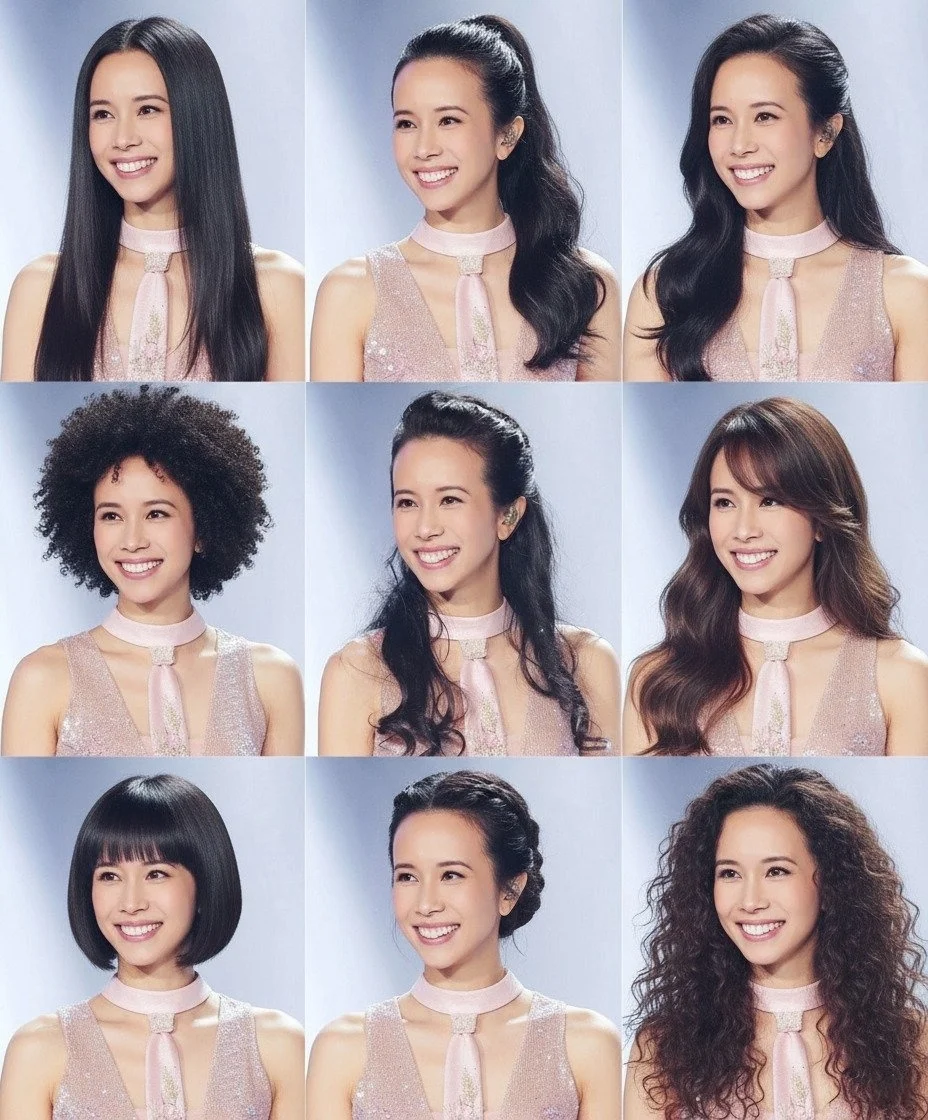
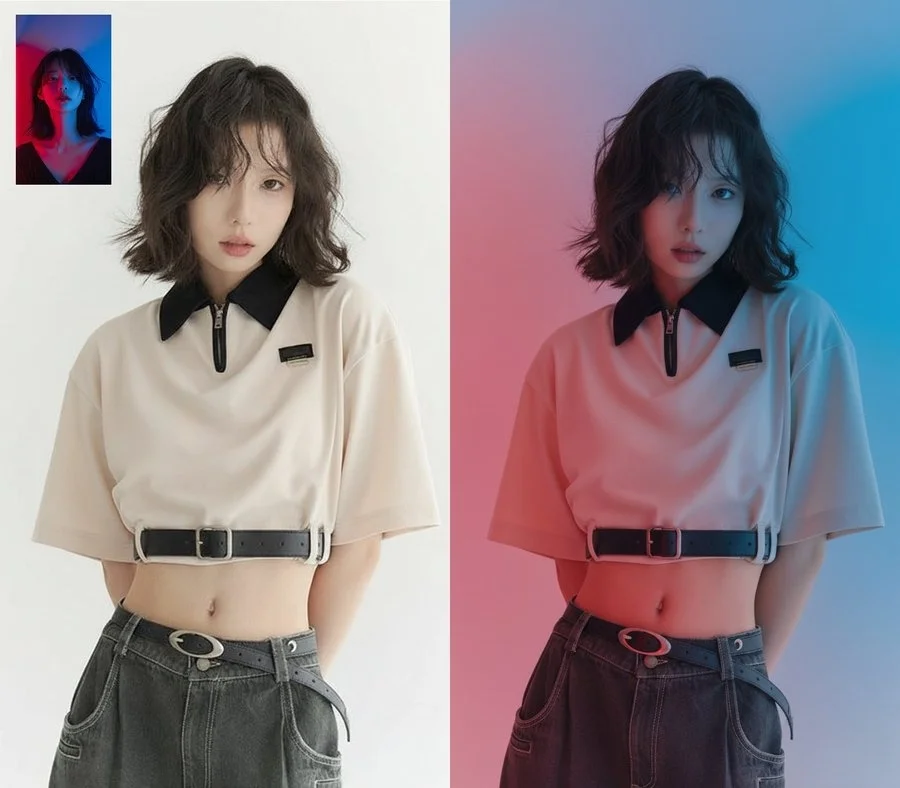
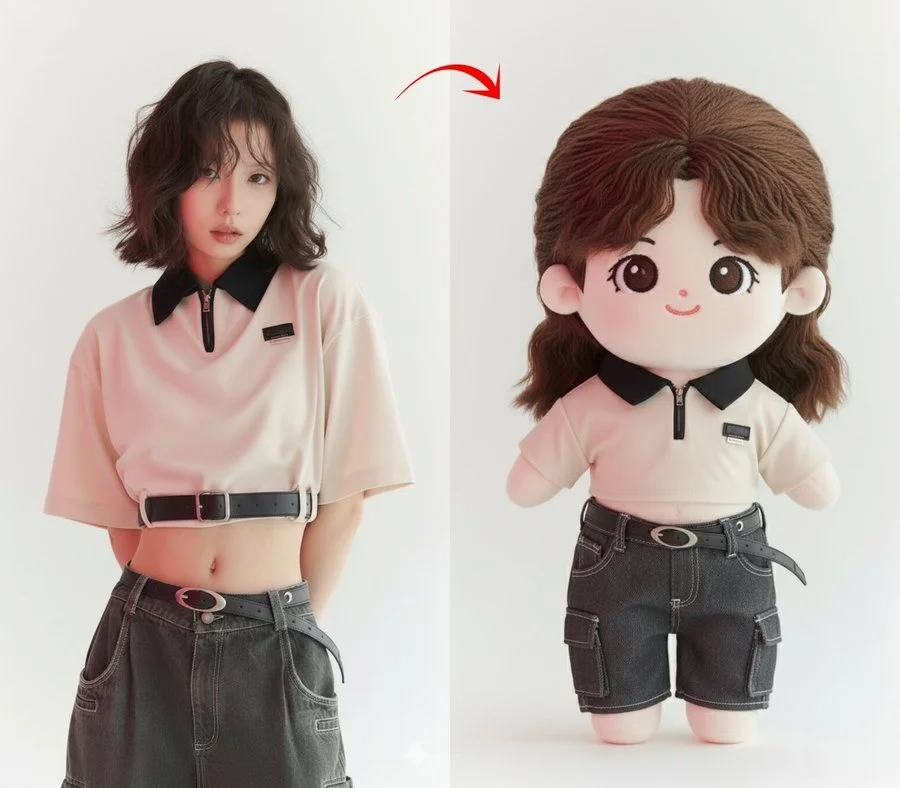


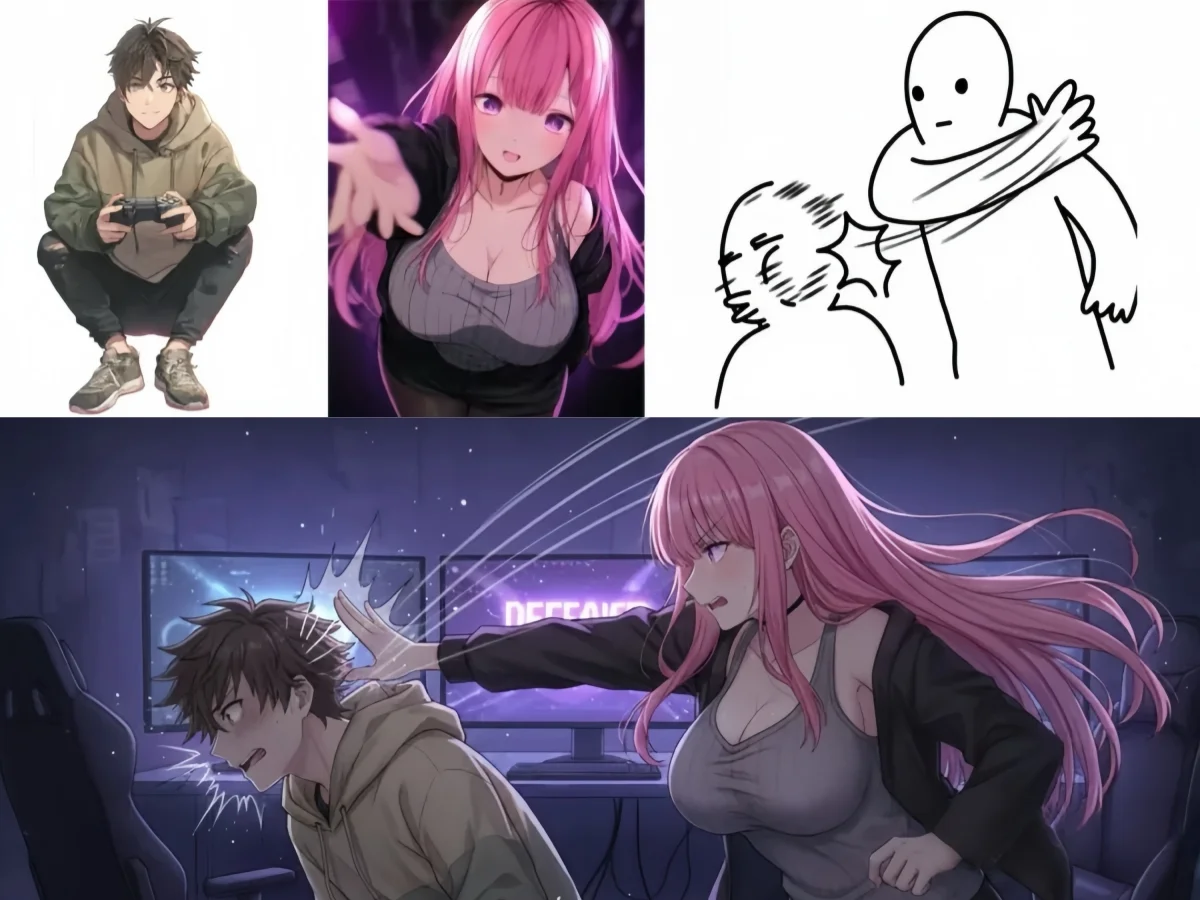
Freepik AI brings image generation, photo editing, video, voice, and 3D tools into one online workspace. Create from a written idea, work with your own reference material, or prepare an existing image for a new use.
Describe a scene to create a new picture, or upload a reference and ask for changes. Develop the subject, setting, and visual style together.
Start a video with a still image or a description. Specify what the subject does and how the camera moves to give the shot a clear direction.
Write a passage for narration or assign lines to different speakers. Explore a voice for an explanation, a character, or a conversation.
Turn a described or pictured subject into a 3D model. Use the interactive preview to examine its shape before downloading it for further work.
A useful image needs to suit its destination. Adjust the composition, prepare a separate element, or choose a larger size for the design you have in mind.
Ask for a simpler background or move the subject to one side of the composition. This can leave space for a heading you add later in your design editor.
Use 2× or 4× upscaling when your selected picture needs more pixels for a larger placement. Inspect small details at the intended display size.
Remove the background from an existing image to isolate its subject. Place the cutout on a slide, a colored backdrop, or another composition in your editor.
Generate a new illustration or object with transparency, or remake a reference as a transparent image. Download the PNG to layer into your own design.
Explore different camera views from one reference. A wider view may work for a scene, while a closer view can help focus attention on the subject.
Choose the route that matches your starting material: describe a scene, follow a recorded movement, or give a portrait a voice.
Use video generation when you want to describe the action yourself. Animate a selected picture or write a scene with a subject, movement, and camera direction.
Choose motion control when a reference clip already shows the movement you want. Pair it with a character image to guide the new performance.
Choose a talking avatar when speech is the focus. Add a portrait and provide a recording or generate speech from your script to create a talking video.
Bring Freepik AI into the part of your project that needs a visual, a voice, or a new perspective.
Try an overhead illustration of gardening tools for a seasonal post. Keep one clear focal point and leave space for your caption when planning the composition.
Turn a short explanation into spoken audio for a slide or demonstration. Listen for words that need clearer phrasing, revise the script, and add the track in your editor.
Explore a small delivery robot or an imagined vehicle as a 3D model. Rotate the result to consider its proportions and silhouette beyond the original reference view.
Find a starting point for images, design work, video, and spoken content.
Freepik AI supports images, edited photos, videos, spoken audio, talking avatars, and 3D models. You can also prepare images by enlarging them, removing a background, or creating transparent artwork. Choose a tool based on what you want to make and the material you already have.
Yes. Try Freepik AI for free to explore AI creation before choosing a paid plan. Begin with a description or a reference image in the image workspace.
Yes. Upload an image to guide a new picture or describe the changes you want to make to it. Your image can also be the starting frame for a video, the portrait for a talking avatar, or a reference for a 3D model. Each tool provides its own input options.
Decide where the image will appear, then describe the subject, its placement, and the background. Select an aspect ratio that fits the space. For example, request an uncluttered area beside the subject if you plan to add a heading later. A reference image can help communicate the look you want.
Yes. Reuse a suitable reference and describe the same visual characteristics, such as the palette, lighting, and illustration technique. Change the subject or scene while keeping those instructions consistent. Compare the results together and refine any image that feels out of place; exact matching is not guaranteed.
Yes. Use image to video to animate a photo, and choose a model and mode that support audio when you want sound generated with the clip. For a specific spoken message, create a voiceover separately and combine it with the video in your editor. Use the avatar tool when you want the person in a portrait to speak.
Yes. Text to speech turns a script into a spoken audio track. To make a talking video, use the avatar tool with a portrait and generate speech from your script, or upload a recording. Choose a voiceover for narration over other visuals and an avatar when the speaker should appear on screen.
Upload a reference or describe what you want to create.
Start Free