Invent a picture from text
An AI photo generator can turn a description into a scene that does not yet exist. For a travel illustration, name the place, the viewpoint, and the time of day. Add a visual style once the scene itself is clear.
0 / 5000
Create images from text or use a photo to direct what comes next. The Freepik AI image generator combines new image creation and instruction-based editing, so you can develop a composition for a post, illustration, or design without starting every version from scratch.
The best starting point depends on what is already decided. Use words to explore a new subject; use an image when its appearance should guide the result.
An AI photo generator can turn a description into a scene that does not yet exist. For a travel illustration, name the place, the viewpoint, and the time of day. Add a visual style once the scene itself is clear.
An image-to-image request starts with visual information instead of asking the model to imagine everything. Upload your base picture, explain the change, and identify the details that matter, such as a distinctive jacket or the shape of an object.
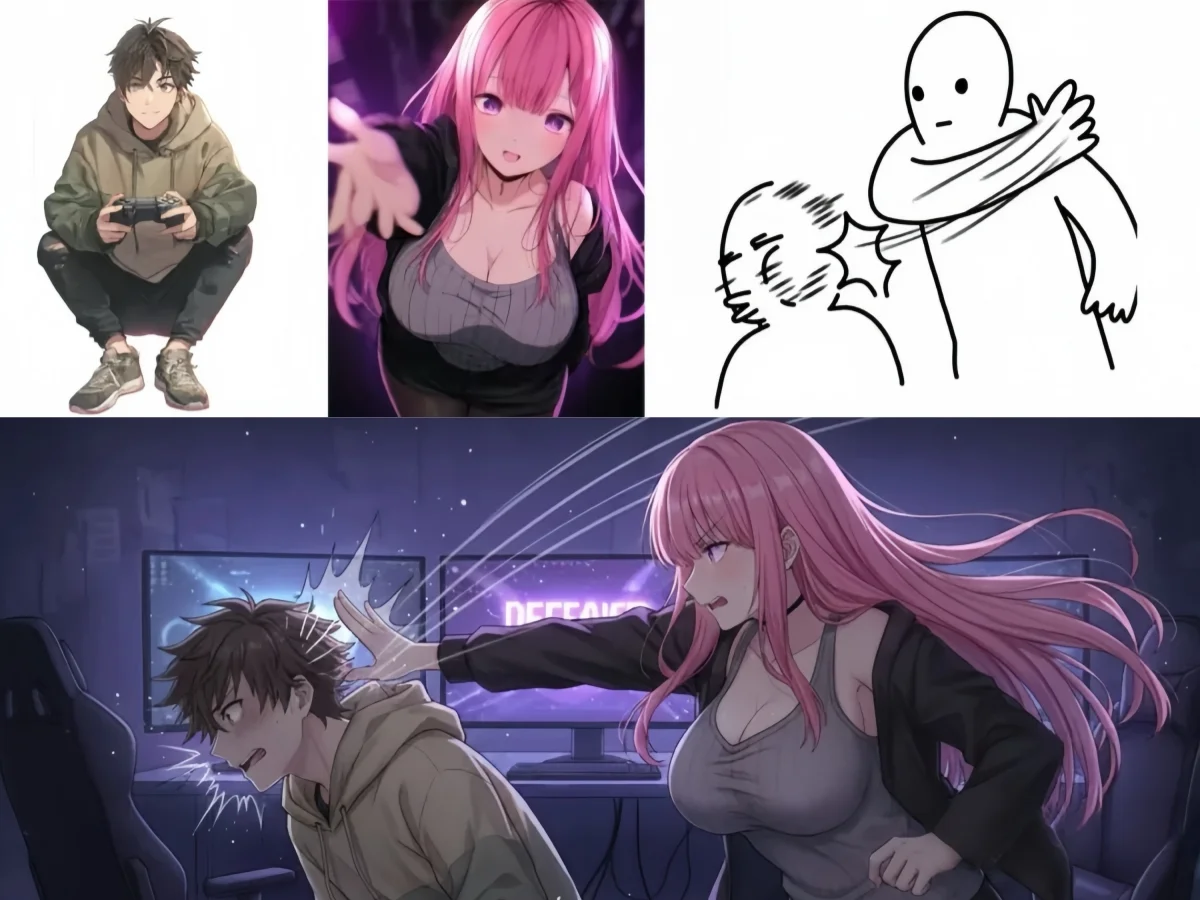
Before writing a long prompt, decide what a viewer should notice first. Three concrete choices give your image a more useful direction.
Make the important subject easy to identify. In a bakery announcement, the bread might fill the foreground while the shop remains a soft background. Describe that relationship instead of listing every object in the room.
Select an available aspect ratio for the intended placement. A vertical image may need space above and below a person; a wide banner may need the subject at one side. Include those placement instructions in your request.
Describe visible qualities: paper texture, hard afternoon shadows, muted colors, or a clean studio setting. A reference can communicate a look that is hard to name. Explain which qualities you want it to contribute.
Freepik AI lets you guide a generation with more than a description. Make the role of each input clear, then judge the result against your original purpose.
If one image shows your subject and another supplies a look, say so. Ask for the subject from the first image with the palette or rendering style of the second, rather than leaving the relationship unstated.
Choose an image model that accepts your inputs and offers the output size and shape you need. Reference limits and available settings appear in the workspace. Use those practical differences to choose, rather than assuming one model suits every request.
Try a different setting, crop, or lighting direction while reusing the same source image. Keeping the visual reference stable helps you compare variations without rewriting the whole idea each time.
Check the focal point before polishing the rest. If a shop sign is wrong, give the intended wording and location; if a prop has changed shape, point back to the reference. Review the next result before making another change.
Once the picture works, choose the finishing task that matches its destination.
Keep image editing focused on the content. When you have selected the version to use, the image upscaler can enlarge it to 2× or 4× for a larger placement.
Enlarge your selected imageA finished scene and a reusable cutout serve different purposes. Remove the background to keep an existing subject, or generate transparent artwork when you need a new separate element.
Practical answers for choosing inputs and getting closer to the picture you want.
Yes. Describe the picture you want in the Freepik AI image workspace; a reference photo is optional with supported models. Text to image is useful when you want to explore a scene freely. Add a reference when a particular subject, style, or composition needs to guide the result.
Select a model that supports multiple inputs, then upload the references within its displayed limit. Identify a base image and explain what to take from each additional image. For example, keep the room from one reference and use the lighting of another. Avoid asking two conflicting pictures to define the same feature.
Use your subject image as the base and describe the new treatment, or add a separate style reference. Specify the features to keep, such as the silhouette, facial features, and clothing. Review these features in the result: a reference guides generation but does not lock every part of the image.
You can request lettering by giving the exact text and its position. A short sign or title is easier to inspect than a paragraph of small print. Check the spelling and placement in the output. For copy that needs precise typesetting, add the text in your design editor after generating the artwork.
Select a suitable output resolution when you are still creating the picture. Use the separate upscaler when an existing image already has the composition you want but needs larger dimensions. If the picture contains an unwanted detail, edit it before enlarging it.
Yes. You can try AI image generation free with a written idea or your own reference. Start with a simple composition, then use editing instructions to explore a different look.
Bring a reference or describe the picture you want to create with Freepik AI.
Start Free