Double the width and height
At 2×, a 1200 × 800 px photo becomes 2400 × 1600 px. This is a useful choice when the destination needs roughly twice the source dimensions, such as a larger image in a presentation.
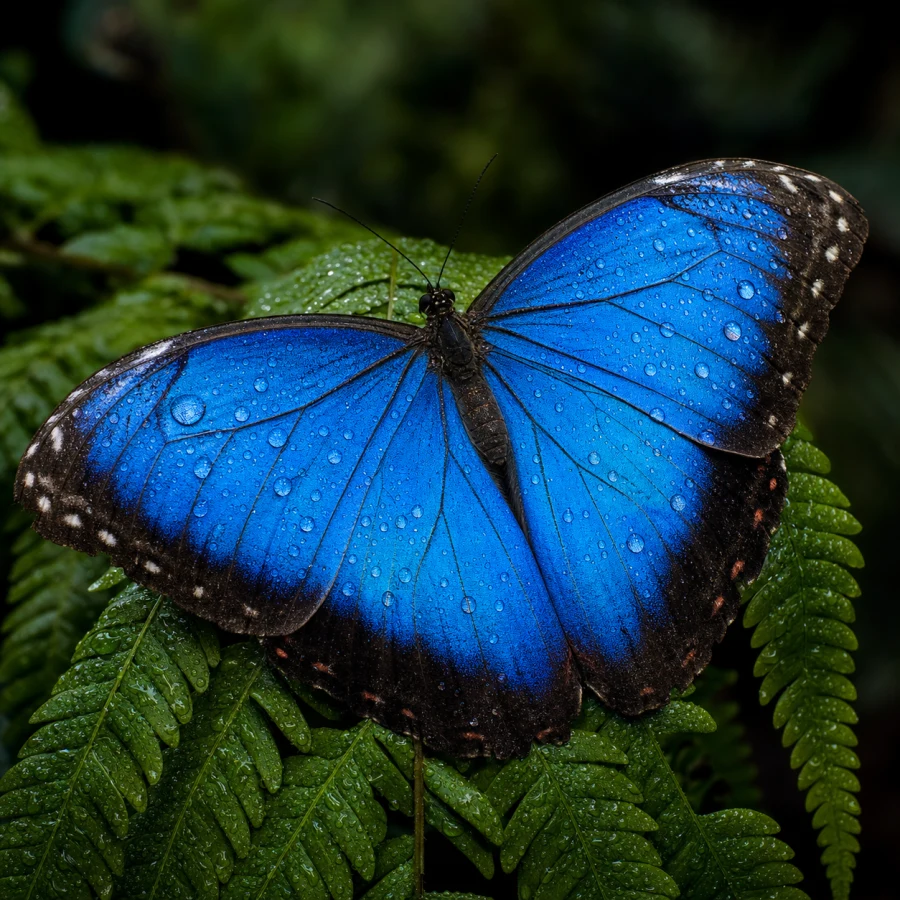
Increase the resolution of a photo or illustration with 2× or 4× enlargement. The Freepik AI image upscaler prepares a larger version of the picture you already have, with no prompt needed—useful when an image is too small for its next placement.
Start with the required pixel dimensions, then choose the multiplier. Both width and height increase by the selected factor.
At 2×, a 1200 × 800 px photo becomes 2400 × 1600 px. This is a useful choice when the destination needs roughly twice the source dimensions, such as a larger image in a presentation.
At 4×, that photo becomes 4800 × 3200 px. Choose the larger output when the intended layout needs it. Four times the width does not mean four times the original detail can be recovered.
Use a PNG, JPG, or WebP image up to 10 MB. Check the output dimensions shown in the tool before starting the upscale.
Use the camera export or original download when you have it. A thumbnail or screenshot may already contain softened edges and compression marks that become more noticeable when enlarged.
For a 2400 px-wide placement, a 1200 px source needs 2× enlargement; a 600 px source needs 4×. The longest output edge must remain within 20,000 pixels. Select the size that serves the job.
Image size and image content are separate decisions. Choose the operation that solves the actual problem.
A standard resize resamples the existing pixels. AI upscaling estimates detail as it enlarges the image. It can produce a more useful large version, but pixel dimensions alone do not tell you whether that version looks better.
If an object, color, or piece of lettering needs to change, make that edit first. Enlarging a picture is not a reliable way to correct its meaning or design. Upscale the version you have already chosen.
Use Freepik AI to prepare the larger file, then review it where it will appear. A slide, a product close-up, and a print may expose different details.
Inspect the parts that identify the subject: a watch face, an embroidered pattern, or the eyes in a portrait. Compare with the source to see whether important shapes and markings still read correctly.
After inspecting details, return to the full composition. Edges that look crisp when zoomed in can feel too strong in a layout. Choose the result that works at the actual viewing size.
Understand what changes when you make a picture larger.
The output is larger, and AI processing can improve how some edges and textures appear. The result still depends on the source: missing details are estimated rather than retrieved from an original high-resolution file. Compare the enlarged picture with the source instead of treating a higher pixel count as proof of better quality.
Choose the smallest multiplier that meets the dimensions you need. Both factors apply to width and height: 2× produces four times the pixel count, while 4× produces sixteen times the pixel count. Use the output-size estimate to make the choice; file size will also depend on the image and format.
Yes, when the source dimensions and scale factor produce that size. A 1920 × 1080 px image at 2× becomes 3840 × 2160 px, the common 4K UHD frame. Other aspect ratios produce different dimensions; the upscaler does not automatically crop every image into a 4K video frame.
It may make a soft image look clearer, but it cannot reliably recover information that is not visible in the source. For a face or a label that must stay accurate, use a clearer original if possible. Check the enlarged details carefully rather than assuming newly visible marks are authentic.
Ask the print service for the required pixel dimensions or pixel density at your chosen print size. Compare that requirement with the upscaled output. Preview a crop or make a small test print when fine detail matters; changing only a DPI label does not add pixels.
Yes. Download the generated image you want to use, upload it to the Freepik AI image upscaler, and select 2× or 4×. Resolve any generation errors before enlargement so you are not making unwanted details larger too.
Upload your selected picture and choose 2× or 4× enlargement with Freepik AI.
Upscale Image